Useful tips for photographing woodlands and forest
This week I wanted to focus on capturing moody woodland scenes. Recently we have had some heavy thick fog in the mornings, which is what I feel is the optimum time to head out into the woods. To accomplish this look/technique does require a fair amount of patience, a bit of trial and error, a keen eye, and a bit of time spent editing the images after the shoot.


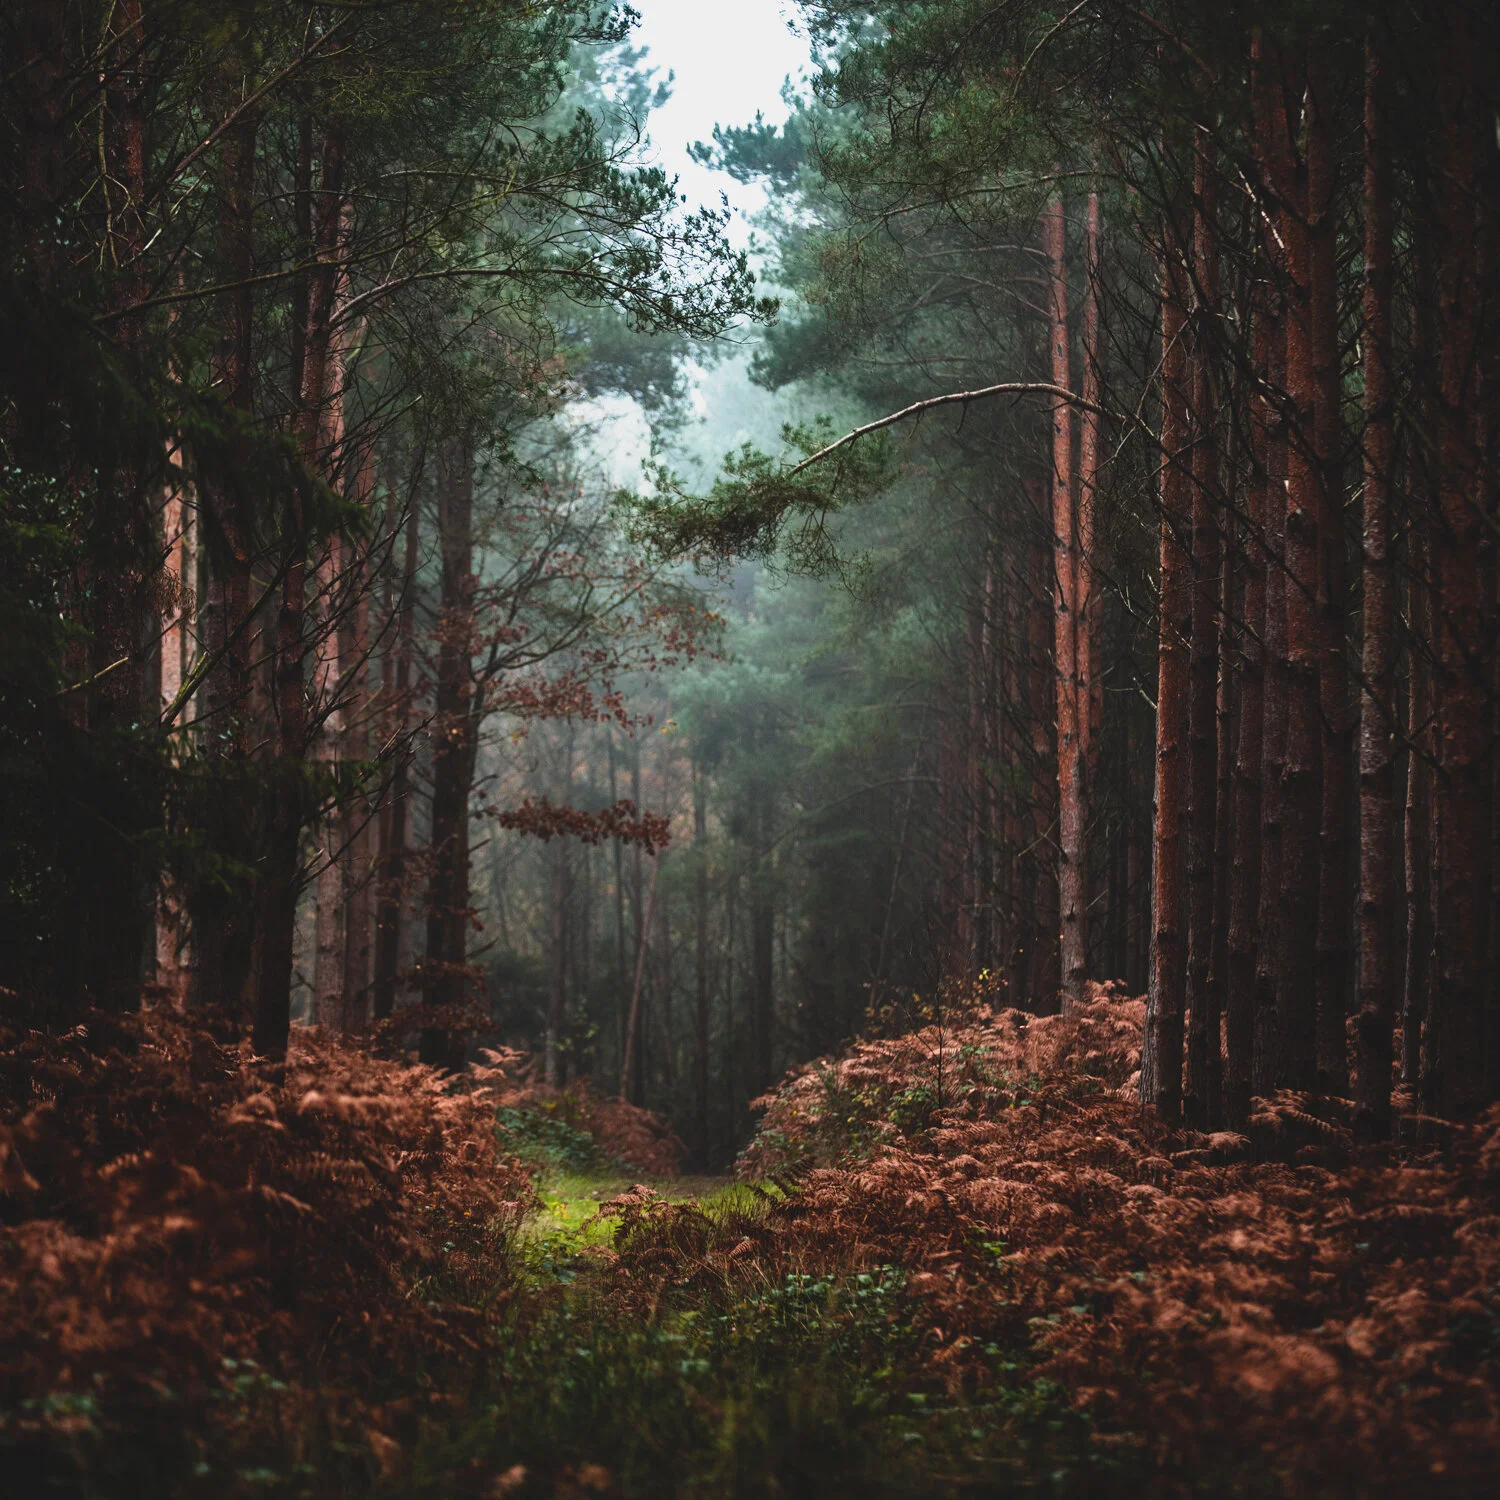
When photographing woods, I generally start by trying to find an interesting subject or scene. It might be a crooked tree, a pocket of light, a patch of colour or a path/road which leads the eye to a point in the photograph. I also generally shoot at a shallow depth of field to create depth. If, however, the sun is creeping out from behind the trees, I might bring the focal point to 11+ to encourage sun rays within the photograph.
These moody shots are best achieved on foggy, misty days as it allows certain trees/subjects to stand out among clusters of other trees. If it is a very dark day, I would certainly recommend using a tripod to retain sharpness within the scene.


During the edit, I'll sharpen the subject so that it attracts the most attention. I also usually bring up the whites within the scene and drop the blacks to create a greater contrast. Generally, I change a few colours within the scene as this adds interest and can change the mood of the photograph.


My go-to lens is the 70-200mm as it adds a lovely compression to the shot. If the scene is has a lot going on, I might opt for the 50mm 1.2, as it allows me to bring the depth of field right down and make the subject centre of attention.
Thanks for reading. Until next time.
James